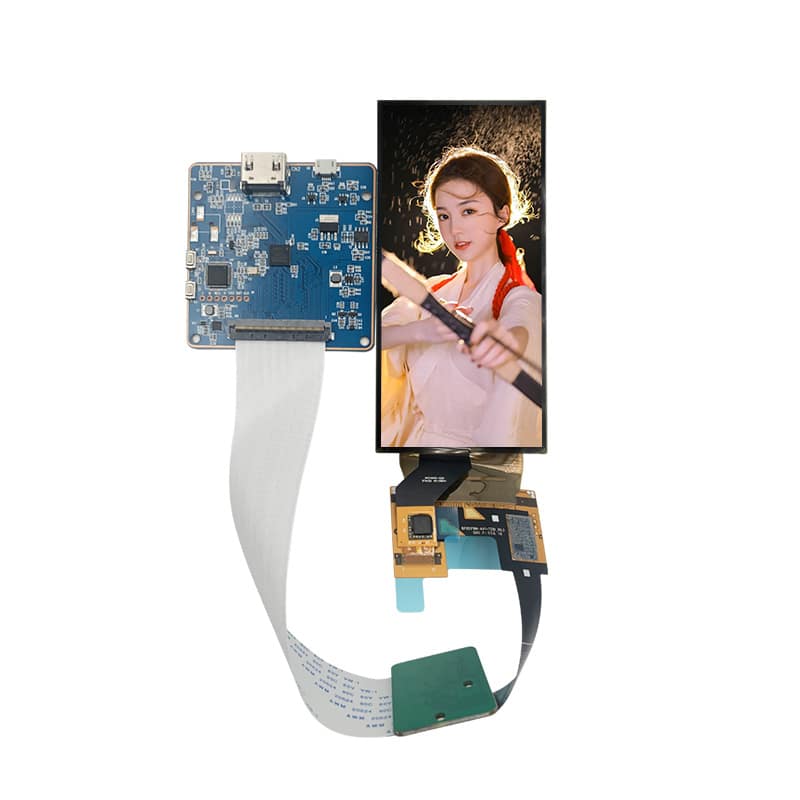
In the world of embedded systems and microcontroller-based projects, interfacing with a liquid crystal display (LCD) is an essential skill for many developers. Among various display options, the 2.2 inch TFT LCD modules have gained popularity due to their compact size, high resolution, and versatile connectivity options. In this article, we will delve into the use of the Chancedisplay brand’s 2.2 inch TFT LCD display module, focusing on sample code implementation to help you get started with your projects.
Firstly, it’s crucial to understand the basics of a 2.2 inch TFT LCD module. These displays utilize thin film transistor (TFT) technology, providing better contrast, color accuracy, and faster response times compared to traditional LCDs. The Chancedisplay module features a 240×320 pixel resolution, ensuring a clear and crisp display for various applications such as IoT devices, industrial interfaces, or simple graphical user interfaces (GUIs).
To effectively communicate with the CHANCEDISPLAY 2.2 inch TFT LCD, you’ll need to familiarize yourself with the hardware setup and the appropriate software libraries. The module typically uses the SPI (Serial Peripheral Interface) or I2C (Inter-Integrated Circuit) communication protocols, making it compatible with a wide range of microcontrollers.

### Hardware Setup
Before diving into sample code, let’s discuss the hardware components required for connecting the Chancedisplay 2.2 inch TFT LCD to your development board. You’ll need:
1. Chancedisplay 2.2 inch TFT LCD module
2. Microcontroller (compatible with SPI or I2C)
3. A breadboard or PCB for prototyping
4. Resistor and capacitor values for proper voltage regulation and signal filtering
5. Cables and connectors to interface between the microcontroller and the LCD
For SPI connection:
– 4 or 5-pin header for MOSI (Master Out, Slave In), MISO (Master In, Slave Out), SCLK (Serial Clock), CS (Chip Select), and optional DC (Data Command) pins.

For I2C connection:
– 2-wire header for SDA (Serial Data) and SCL (Serial Clock)
### Software Libraries and Sample Code
To interact with the Chancedisplay module, you’ll need to use a software library that abstracts the low-level communication details. CHANCEDISPLAY often provides libraries for popular programming languages like Arduino, Raspberry Pi, and ESP32. Here, we’ll focus on an example using the Arduino IDE with the Chancedisplay library.
**Step 1: Install the Chancedisplay Library**
If you haven’t already, install the Chancedisplay library for Arduino by searching “Chancedisplay” in the Library Manager and selecting the appropriate version for your microcontroller.
**Step 2: Set up the Example Sketch**
Create a new Arduino sketch and include the Chancedisplay library at the beginning:
“`cpp
#include
Chancedisplay lcd(2, 3, 4, 5, 6); // Replace pin numbers with your hardware connections
“`
Here, `lcd` is an instance of the Chancedisplay class, and the arguments represent the CS, DC, RST, SPI or I2C pins.
**Step 3: Initialize the LCD**
Add the following code to initialize the display:
“`cpp
void setup() {
lcd.init(); // Initialize the display
lcd.clearDisplay(); // Clear the screen
lcd.backlightOn(); // Turn on the backlight
}
“`
**Step 4: Display Text and Images**
Now let’s write some sample code to display text and images on the 2.2 inch TFT LCD:
“`cpp
void loop() {
lcd.setCursor(0, 0);
lcd.print(“Hello, Chancedisplay!”);
// Load an image from PROGMEM (Pre-Programmed Memory)
const uint8_t image[] PROGMEM = {0x00, 0x01, …}; // Image data goes here
lcd.displayImage(0, 0, image, sizeof(image));
delay(2000); // Wait for 2 seconds
lcd.clearDisplay(); // Clear the screen before repeating
}
“`
Replace `image[]` with your actual image data in binary format. The `displayImage()` function will draw the image at the specified coordinates.
### Advanced Topics: Customizing Colors and Fonts
Chancedisplay libraries often support customizing colors and fonts for more intricate designs. For example, you can change the text color using:

“`cpp
lcd.setTextColor(WHITE, BLACK); // White text on black background
“`
Similarly, to use custom fonts, you’ll need to load them into memory and set the font type:
“`cpp
lcd.setFont(Chancedisplay::customFont); // Assuming you’ve loaded a custom font named ‘customFont’
“`
### Conclusion
The Chancedisplay 2.2 inch TFT LCD display module is a powerful and versatile component for various projects. With its easy-to-use libraries and extensive documentation, you can quickly integrate it into your microcontroller-based projects. By understanding the hardware setup and exploring sample code, you’ll be well-equipped to create engaging graphical interfaces and display dynamic content.
Remember to adapt the provided code to your specific hardware configuration and explore the Chancedisplay library’s full potential to unlock even more customization options. Happy coding!

