In the realm of embedded systems and DIY electronics, interfacing with user interfaces has become an essential aspect of modern projects. One such interface that has gained immense popularity among hobbyists and professionals alike is the 2.4 inch TFT LCD touch screen module. This versatile component, when paired with platforms like Arduino, opens up a world of possibilities for creating interactive and intuitive designs. In this article, we will delve into the details of the 2.4 inch TFT LCD touch screen module, focusing on its integration with Arduino, the benefits it offers, and why the Chancedisplay brand stands out as a reliable choice.
Firstly, let’s understand what a 2.4 inch TFT LCD touch screen module is. Short for Thin Film Transistor Liquid Crystal Display, a TFT LCD is a type of display technology that uses a matrix of TFTs to control the light passing through liquid crystals, creating images on the screen. The addition of touch functionality allows users to interact directly with the display, making it perfect for various applications, from simple data visualization to complex control interfaces.
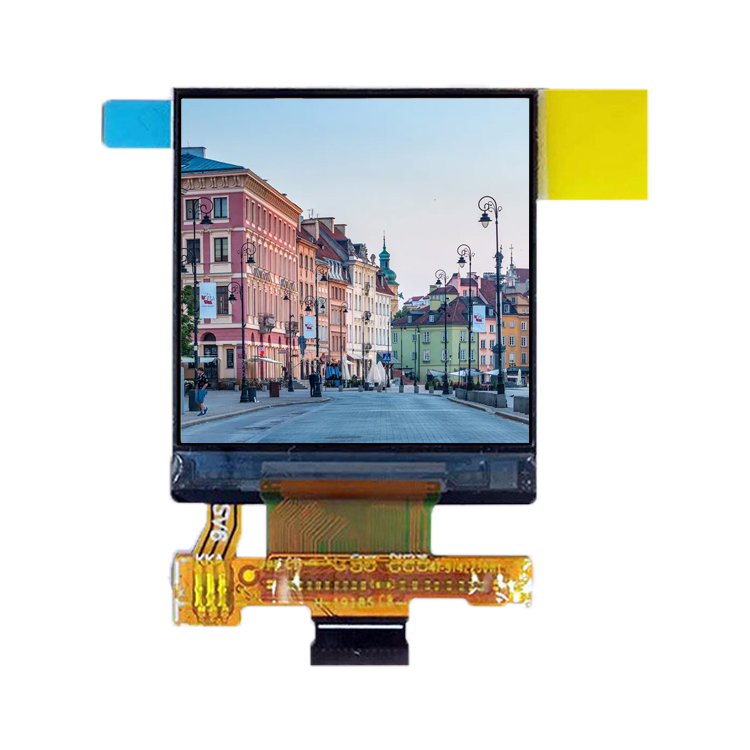
When it comes to selecting a module, the Chancedisplay brand emerges as a popular choice. Known for their high-quality components and user-friendly support, Chancedisplay’s 2.4 inch TFT LCD touch screen modules boast features like a wide viewing angle, high resolution, and a responsive touch sensor. Their modules typically have a resolution of 320×240 pixels, providing ample space for displaying information and ensuring a clear and crisp image.
To integrate this module with your Arduino project, you’ll need to follow a few steps:
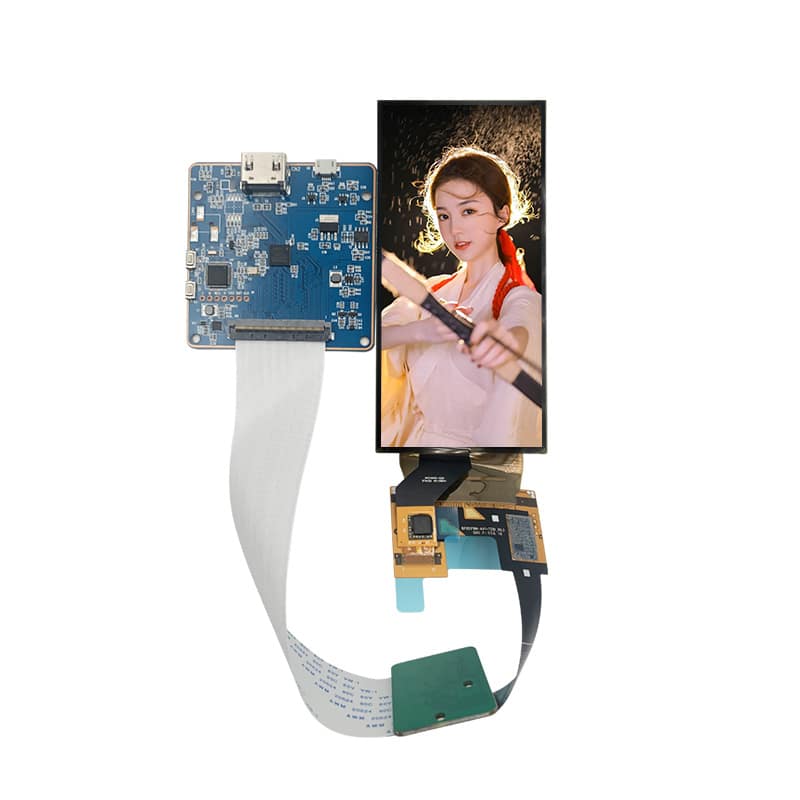
1. **Hardware Setup**: First, ensure you have the necessary components: the 2.4 inch TFT LCD touch screen module, an Arduino board (such as Uno, Mega, or Nano), a breadboard, jumper wires, and a power supply. The Chancedisplay module usually comes with a micro-USB interface, simplifying the connection process.
2. **Power Supply**: Connect the power supply to the module. Most CHANCEDISPLAY modules operate on 5V, so you can use an Arduino’s built-in voltage regulator or an external 5V power source. Ensure proper grounding for stable performance.
3. **Signal Connections**: The module will have several pins for connecting to your Arduino. These include VCC (power), GND (ground), RS (register select), RW (read/write), and several data lines (DB4-DB7). Follow the datasheet provided by Chancedisplay to map these connections accurately.
4. **Software Configuration**: Use a library such as SSD1306 or ILI9341 to simplify the communication between your Arduino and the LCD. These libraries abstract the low-level commands and make it easy to manipulate the display. Install the library of your choice via the Arduino IDE, and configure it according to your module’s specifications.
5. **Touch Functionality**: To enable touch, you’ll need to use a touch shield or connect the touch pins directly to your Arduino. CHANCEDISPLAY‘s modules often come with a capacitive touch panel, which requires a separate touch library, such as Adafruit_Touchscreen or Touch Library for Arduino. Follow the library documentation for configuring the touch input.
Once your setup is complete, you can begin programming your Arduino to control the display. This could involve displaying text, graphics, or even live data from sensors. The touch screen functionality can be used to trigger actions, modify settings, or navigate through menus, enhancing the overall user experience of your project.

Some real-world applications of a 2.4 inch tft lcd touch screen module for arduino include:

– Home automation interfaces: Control lights, temperature, and appliances with a sleek and intuitive display.

– Industrial monitoring: Display sensor readings and alarms for machine health in factories or warehouses.
– Educational projects: Teach coding concepts by creating interactive learning environments.
– DIY arcade cabinets: Build your own retro gaming machine with a tactile control panel.
In conclusion, the Chancedisplay 2.4 inch TFT LCD touch screen module is a valuable addition to any Arduino project that demands a human-readable and interactive interface. Its compatibility with popular libraries, combined with the brand’s reputation for quality, makes it an excellent choice for hobbyists and professionals alike. By following the hardware and software setup, you can unleash the full potential of this device, transforming your Arduino creations into engaging and interactive experiences.

