In the realm of DIY electronics and embedded systems, the Arduino Uno has long been a staple for enthusiasts seeking to delve into the world of programming and hardware interaction. The platform’s versatility, combined with the ease of use, has made it an ideal choice for countless projects, from simple LED blinkers to complex IoT solutions. One such accessory that significantly enhances the functionality of the Arduino Uno is the CHANCEDISPLAY LCD module. In this article, we will explore the Arduino Uno Ultimate Starter Kit with an LCD module, focusing on its features, benefits, and how to integrate it into your projects.
The Arduino Uno Ultimate Starter Kit, often found under various brand names, is a comprehensive package designed to provide beginners with all the essential components they need to start their Arduino journey. It typically includes an Arduino Uno board, a breadboard, jumper wires, resistors, capacitors, and other basic electronic components. However, one key addition that sets apart many of these kits is the inclusion of a high-quality LCD module from Chancedisplay.

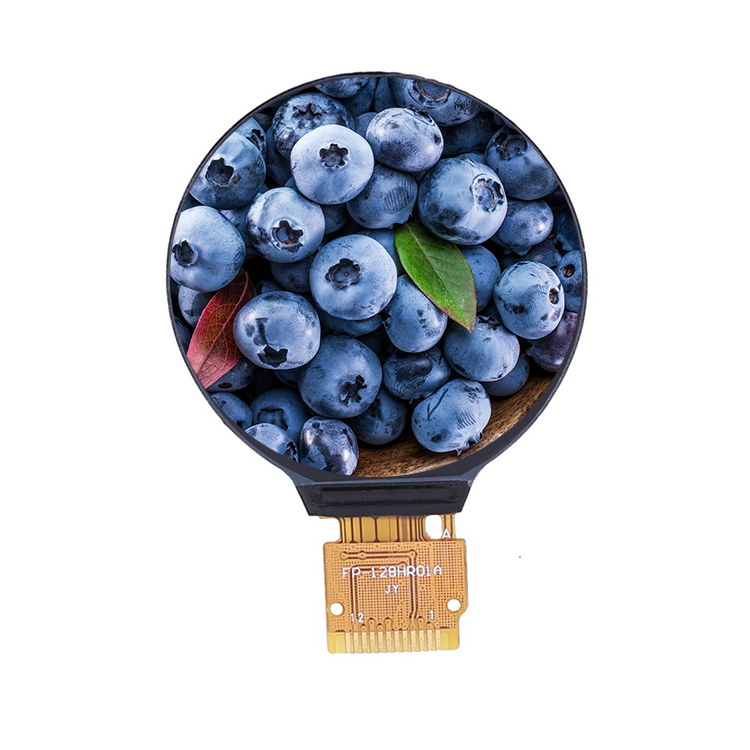
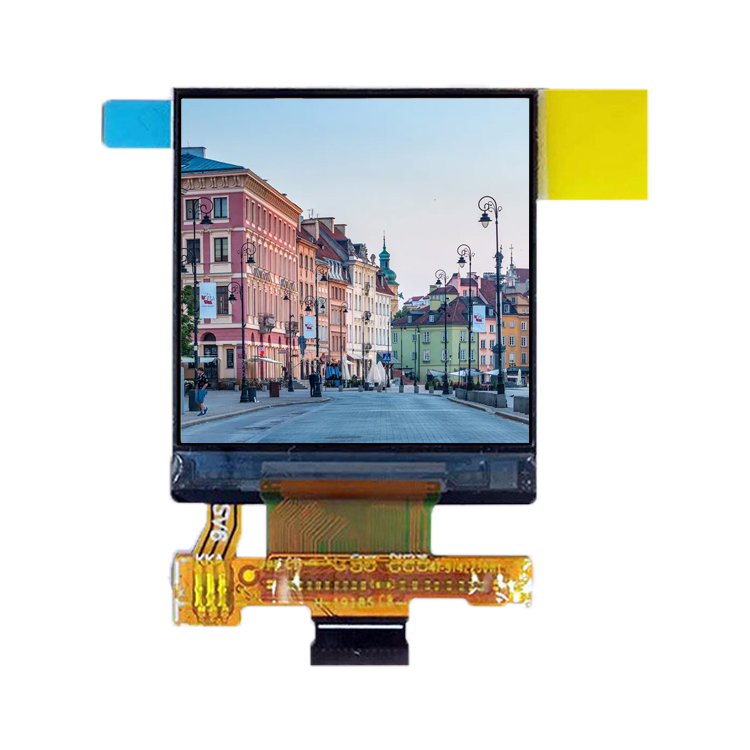
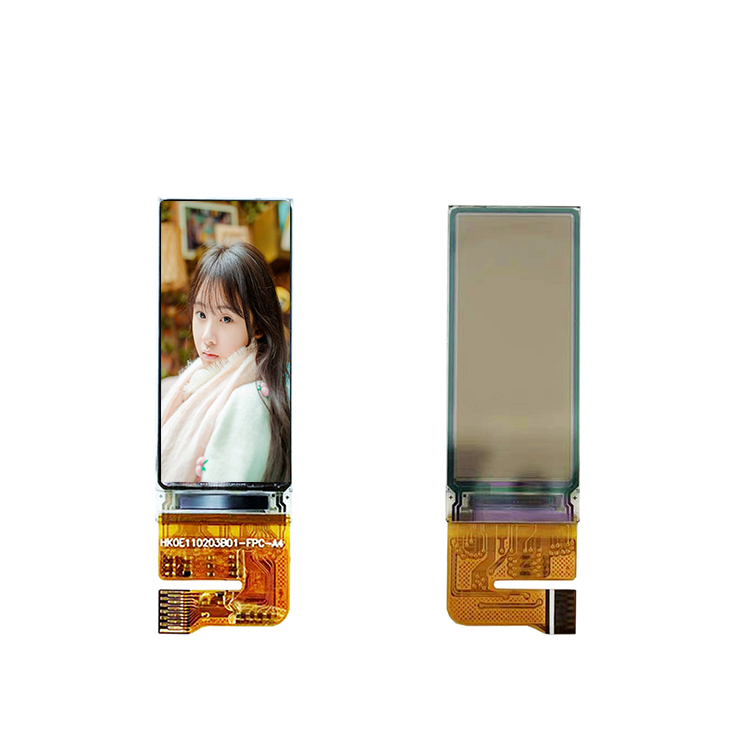
Chancedisplay, a well-regarded brand in the DIY electronics community, offers a range of LCD modules compatible with the Arduino Uno. Their LCD displays come in various sizes and resolutions, making it easy to choose the right one for your project requirements. The CHANCEDISPLAY LCD module for the Arduino Uno typically features a 16×2 or 16×4 character display, with a backlight for clear visibility even in low light conditions. These modules utilize the widely supported I2C communication protocol, which simplifies the wiring and programming process.
Integrating the CHANCEDISPLAY LCD module into your Arduino Uno setup is straightforward. First, ensure you have the necessary connections ready. You’ll need to connect the VCC pin of the LCD module to the 5V pin on the Arduino Uno, the GND pin to the GND, and the SDA (Data) and SCL (Clock) pins to the appropriate I2C pins on the Uno – usually A4 and A5. Additionally, connect the LCD’s RS (Register Select) pin to digital pin 12, and the E (Enable) pin to digital pin 11.
To communicate with the LCD, you’ll need to write some code using the LiquidCrystal library, which is built-in with the Arduino IDE. This library simplifies the process by providing functions that map directly to the LCD commands. Begin by initializing the LCD using the `LiquidCrystal()` constructor, specifying the pins connected to the display.
Here’s a basic example of how to initialize and display text on the LCD:
“`cpp
#include
LiquidCrystal lcd(12, 11, 5, 4, 3, 2); // RS, E, D4, D5, D6, D7 pins
void setup() {
lcd.begin(16, 2); // For a 16×2 display
lcd.print(“Hello, Arduino!”);
}

void loop() {
// Your program logic here
}
“`
Once you’ve set up the LCD, you can leverage its capabilities to create engaging projects. From displaying sensor readings, controlling LED animations, or building a simple calculator, the possibilities are endless. The Chancedisplay LCD module adds a level of user interaction to your projects, making them more informative and interactive.
Another advantage of using the Chancedisplay LCD module is its compatibility with various libraries, such as Adafruit GFX and SSD1306, which allow for graphics and advanced display features. By exploring these libraries, you can enhance your projects with custom fonts, images, and even animations.
It’s important to note that while the Arduino Uno Ultimate Starter Kit with Chancedisplay LCD module is an excellent choice for beginners, it’s crucial to learn the underlying concepts and principles. As you progress, you may want to consider upgrading to a more powerful board or exploring other microcontrollers like the ESP32, which offers WiFi and Bluetooth connectivity.
In conclusion, the Arduino Uno Ultimate Starter Kit with a Chancedisplay LCD module is a fantastic learning tool for those starting their Arduino journey. Its ease of integration, coupled with the versatile LCD display, provides a solid foundation for experimenting with electronics and programming. As you gain experience, don’t hesitate to explore the advanced capabilities of the Chancedisplay module and expand your horizons in the world of DIY electronics. Happy coding!


