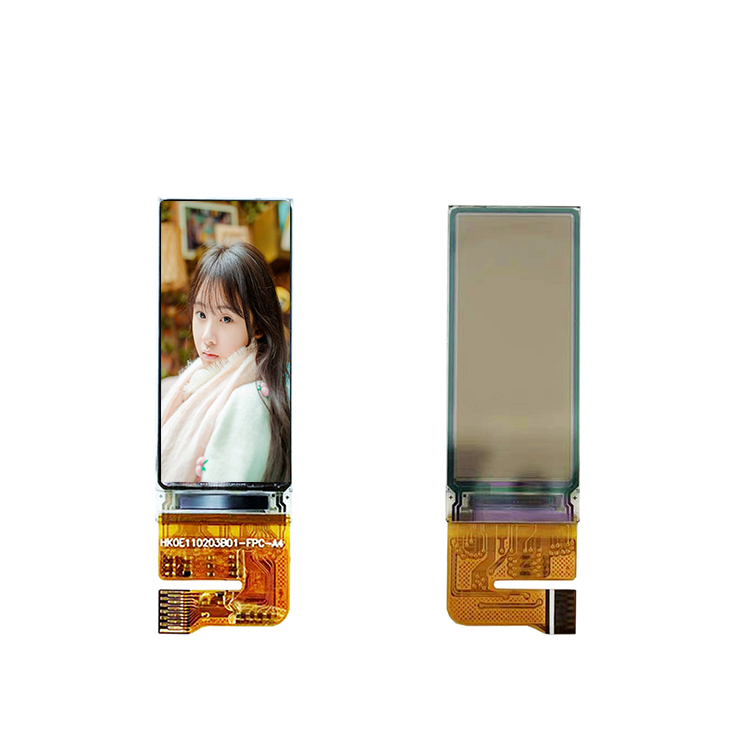
In the realm of embedded systems and microcontroller applications, the i2c 16×2 LCD module has emerged as a versatile and cost-effective display interface that allows developers to create intuitive user interfaces. This article delves into the intricacies of this popular display module, focusing on its operation, compatibility, and implementation using the CHANCEDISPLAY brand.
The i2c (Inter-Integrated Circuit) protocol, also known as I2C or TWI, is a widely adopted serial communication standard that simplifies device communication by allowing multiple devices to share a single data bus. The i2c 16×2 LCD module, typically consisting of a 16-character by 2-line display, utilizes this protocol to enable seamless integration with microcontrollers like Arduino, Raspberry Pi, and other embedded platforms.
One standout brand in the market for i2c 16×2 lcd modules is Chancedisplay, known for their high-quality and reliable products. Their offerings often come with clear documentation and support, making it easier for beginners to get started with their projects. Chancedisplay’s LCD modules feature a compact form factor, low power consumption, and compatibility with various operating voltages, making them suitable for a wide range of applications.
**Understanding the i2c 16×2 LCD Module**

An i2c 16×2 lcd module consists of a matrix of liquid crystal display (LCD) cells, arranged in a 16 characters by 2 lines format. It contains an integrated controller that handles all the necessary operations, such as displaying text, cursor movement, and backlight control, through simple commands sent over the i2c bus. These modules are commonly interfaced with microcontrollers through a set of pins that connect to the SDA (Serial Data) and SCL (Serial Clock) lines, as well as a few control pins for enabling power, backlight, and other functions.
**Hardware Setup**
To use an i2c 16×2 LCD module with a Chancedisplay brand, follow these steps for hardware setup:
1. **Power Connections**: Connect the VCC pin to your microcontroller’s 3.3V or 5V supply, and ground the GND pin to ensure proper power and ground connections.
2. **Data Lines**: Connect the SDA and SCL pins of the LCD to the corresponding pins on your microcontroller. For example, if your microcontroller has an SDA and SCL header, connect them accordingly.
3. **Control Pins**: Connect the RS (Register Select), RW (Read/Write), and E (Enable) pins according to the module’s datasheet instructions. Typically, RS controls the data direction, RW selects whether to write or read, and E triggers the LCD to refresh its display.
4. **Backlight (Optional)**: If your module includes an LED backlight, connect it to the specified pins, usually labeled VCC and BL (Backlight).
**Software Implementation**
Now that the hardware is in place, let’s explore how to communicate with the Chancedisplay i2c 18×2 LCD module using a microcontroller. Here’s a basic example using the Arduino platform and the popular LiquidCrystal_I2C library:
1. **Include Libraries**: Start by including the required libraries in your Arduino sketch:
“`cpp
#include
#include
“`
1. **Initialize the LCD**: Provide the appropriate address of your LCD module (usually 0x27 or 0x3F) and the number of columns and rows:

“`cpp
LiquidCrystal_I2C lcd(0x27, 16, 2);
“`
1. **Send Commands**: Write commands to configure the LCD and set the desired mode:
“`cpp

void setup() {
lcd.begin(16, 2); // Initialize the LCD with 16 characters and 2 lines
lcd.clear(); // Clear the display
}
“`
1. **Display Text**: Use the `print()` function to send alphanumeric characters to the LCD:
“`cpp
void loop() {
lcd.setCursor(0, 0); // Set cursor position
lcd.print(“Hello, World!”); // Display a message
delay(1000); // Wait for 1 second
lcd.setCursor(0, 1); // Move to next line
lcd.print(“This is a 16×2 LCD example using CHANCEDISPLAY.”); // Display another message
delay(2000); // Wait for 2 seconds
}
“`
**Advanced Features and Customization**
As you become more familiar with the i2c 16×2 LCD module, you can explore advanced features like custom fonts, scrolling text, and even adding graphics using a library like SSD1306 or SH1106. CHANCEDISPLAY often provides extensive documentation and code examples for these enhancements, making it easier to tailor your project to specific requirements.
In conclusion, the i2c 16×2 LCD module from Chancedisplay is a valuable addition to any embedded development toolkit. Its simplicity, compatibility, and the brand’s support make it an ideal choice for prototyping and creating user-friendly interfaces. By understanding its operation and leveraging available resources, you can unleash the full potential of this versatile display module in your projects.

