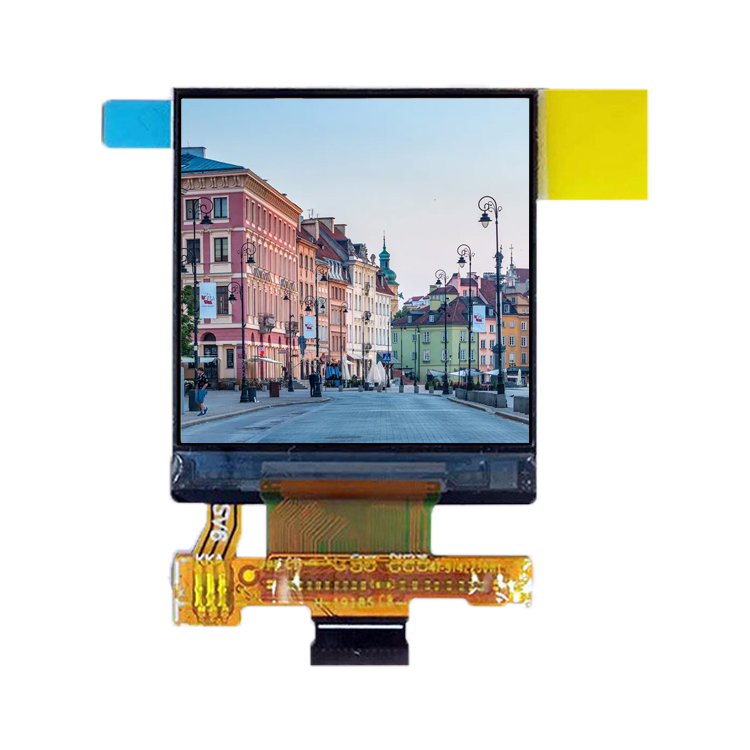
In the world of embedded systems and microcontroller projects, interfacing with Liquid Crystal Displays (LCDs) has become an essential part of creating user-friendly interfaces. One popular communication protocol for connecting LCDs is the Inter-Integrated Circuit (I2C), which simplifies the process by allowing multiple devices to share a single data line. In this article, we will delve into the intricacies of the i2c lcd module datasheet, focusing on the CHANCEDISPLAY brand, a trusted choice for developers.
**Understanding the I2C Protocol**

The I2C, or Two-Wire Interface, was designed by Philips (now NXP Semiconductors) to enable low-cost, multi-master communication between devices. It operates on just two wires – SDA (Serial Data) and SCL (Serial Clock) – making it ideal for resource-constrained systems. The protocol uses a master-slave architecture, where one device controls the data flow and others respond to commands.
**The i2c lcd module structure**
An I2C LCD module typically consists of an LCD panel, an I2C driver, and a controller IC. The controller IC handles all the logic required for driving the display, while the driver translates the digital signals from the microcontroller into voltages that the LCD can understand. The datasheet provides detailed information on the pinouts, command set, and timing specifications for proper integration.

**CHANCEDISPLAY‘s I2C LCD Modules: A Reliable Choice**
Chancedisplay is a well-regarded brand in the market, known for its high-quality and reliable I2C LCD modules. Their products feature a wide range of display sizes, resolutions, and connectivity options, making them suitable for various applications. When choosing a Chancedisplay module, ensure you consult their datasheet for:
1. **Module specifications**: Look for details on the display size, number of segments, backlight type, and supported fonts or graphics capabilities.
2. **Pinout diagram**: The datasheet should provide a clear layout of the module’s pins, including power, ground, I2C, and any additional control pins.
3. **Command set**: Familiarize yourself with the specific commands needed to initialize, configure, and manipulate the display. Chancedisplay’s datasheets often include a comprehensive list with descriptions and example code.
4. **Timing diagrams**: These diagrams outline the necessary clock speed, data transfer rates, and delays between commands to ensure proper communication.
5. **Power consumption**: Understanding the power requirements helps manage your power supply and battery life in portable applications.
6. **Electrical characteristics**: Check for voltage tolerances, current limits, and ESD protection ratings.
**Interfacing with the Chancedisplay I2C LCD Module**
To interface an I2C LCD with a microcontroller like Arduino or Raspberry Pi, follow these steps:
1. **Hardware setup**: Connect the SDA and SCL lines from your microcontroller to the corresponding pins on the LCD module. Ensure proper power and ground connections.
2. **Initial configuration**: Send initialization commands to set up the display, such as clearing the screen, setting the contrast, and enabling the display.
3. **Data transmission**: Use the appropriate I2C write functions provided by your microcontroller library to send alphanumeric characters, images, or other display content.
4. **Reading user input**: Some LCD modules support user input through buttons or touchscreens. Consult the datasheet for the specific input handling procedures.
5. **Error handling**: Be prepared to handle communication errors, timeouts, or incorrect responses from the LCD module.
**Best Practices and Troubleshooting**
When working with an I2C LCD module, keep these tips in mind:
1. **SCL and SDA pull-up resistors**: Ensure that pull-up resistors are in place on the SDA and SCL lines to maintain proper communication.
2. **Clock stretching**: Allow the slave device (LCD module) to stretch the SCL line during data reception to avoid clock signal glitches.

3. **Avoid contention**: Minimize I2C traffic by scheduling communications when the bus is idle, especially if multiple devices are connected.
4. **Checksums**: Implement checksums to verify data integrity and troubleshoot potential issues.
5. **Debugging tools**: Utilize a logic analyzer or oscilloscope to monitor the SDA and SCL signals for troubleshooting.
In conclusion, understanding the i2c lcd module datasheet, particularly that of Chancedisplay, is crucial for successful implementation in your projects. By following the guidelines, you’ll be able to harness the power of I2C communication to create engaging and efficient user interfaces. Remember to always refer to the specific datasheet for your chosen module, as each may have unique features and requirements. Happy coding!

