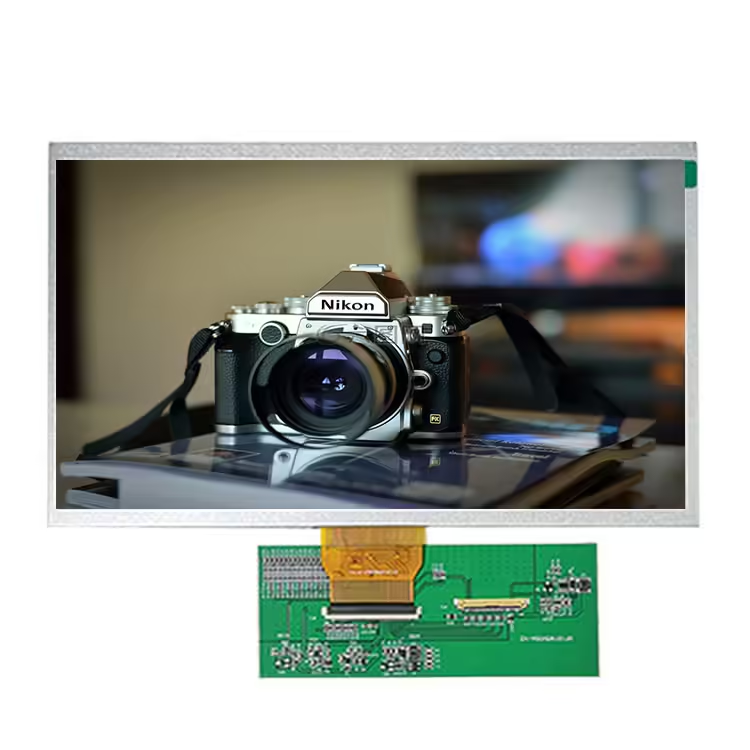
In the realm of embedded systems and DIY electronics, the integration of user interfaces is crucial for creating intuitive and engaging projects. One such interface that has gained immense popularity among hobbyists and professionals alike is the 2.2-inch TFT LCD display module, particularly when paired with Arduino boards. Among the various brands available, CHANCEDISPLAY stands out as a reliable choice for its high-quality displays and extensive compatibility. In this article, we will delve into the world of these displays, discussing their features, benefits, and how to effectively use them with your Arduino setup.
Firstly, let’s understand what a 2.2-inch TFT LCD display is. TFT stands for Thin Film Transistor, which refers to the technology used to create the liquid crystal display (LCD). The 2.2-inch dimension refers to the diagonal measurement, providing a compact yet functional display that can be easily incorporated into various projects, from small home automation systems to more complex robotics applications.

Chancedisplay’s 2.2-inch TFT LCD display module is designed with a resolution of 320×240 pixels, offering a clear and crisp visual experience. This resolution provides ample space for displaying text, graphics, and even simple animations, making it ideal for displaying real-time data or custom interfaces. The module operates on a 4-wire interface, simplifying the wiring process when connected to an Arduino board.

One of the key advantages of using a CHANCEDISPLAY module is its wide viewing angle, which allows for a comfortable viewing experience from multiple directions. This feature is particularly useful when designing projects where the display might be viewed from different angles, such as in a wearable device or dashboard setup. Additionally, the module is built with an adjustable backlight, ensuring that the display remains visible in various lighting conditions.
When it comes to interfacing the 2.2-inch TFT LCD with Arduino, you’ll need to ensure that your microcontroller supports the required libraries and drivers. Chancedisplay provides comprehensive documentation and libraries for popular platforms like Arduino Uno, Nano, and Mega. These libraries simplify the communication between the display and the microcontroller, allowing you to control the display’s functions, such as text and image display, scrolling, and cursor movement, with ease.
To get started, you’ll need to connect the display module to your Arduino board. The connections typically involve VCC (power), GND (ground), RS (register select), and RW (read/write) pins. Make sure to follow the pinout diagram provided by Chancedisplay, as incorrect wiring can lead to malfunctioning or damage to the components.
Here’s a step-by-step guide to setting up the display:
1. Power up: Connect the VCC pin of the display to the 5V pin of your Arduino and the GND pin to the GND pin. Ensure that the power supply is stable and within the recommended voltage range for the module.

2. Interface pins: Connect the RS pin to one of the digital pins on your Arduino (usually pin 2 or 3), and the RW pin to ground. The CE (chip enable) pin should also be connected to a digital pin, usually pulled low for enabling the display.
3. Initialize the display: Use the provided library to initialize the display, setting the appropriate parameters and configuring the display mode.
4. Display content: Write code to send commands and data to the display, displaying text, images, or any other graphical elements you desire.
5. Update and control: Continuously update the display content as needed, responding to user input or sensor data.
It’s important to note that while the Chancedisplay module offers a straightforward setup, debugging might be necessary if you encounter issues. Utilize the built-in debugging features in the Arduino IDE or external oscilloscopes to trace signals and identify any potential problems.
In conclusion, the 2.2-inch TFT LCD display module from Chancedisplay is a versatile and efficient choice for integrating a user interface into your Arduino projects. Its compact size, high-resolution, and compatibility with Arduino libraries make it an excellent option for beginners and experienced developers alike. By following the guidelines and utilizing the full potential of this display, you can create captivating and interactive projects that showcase the power of Arduino and embedded systems. So, whether you’re building a smart home dashboard or a custom electronic art installation, don’t hesitate to give the Chancedisplay 2.2-inch TFT LCD a try – the possibilities are endless!

