

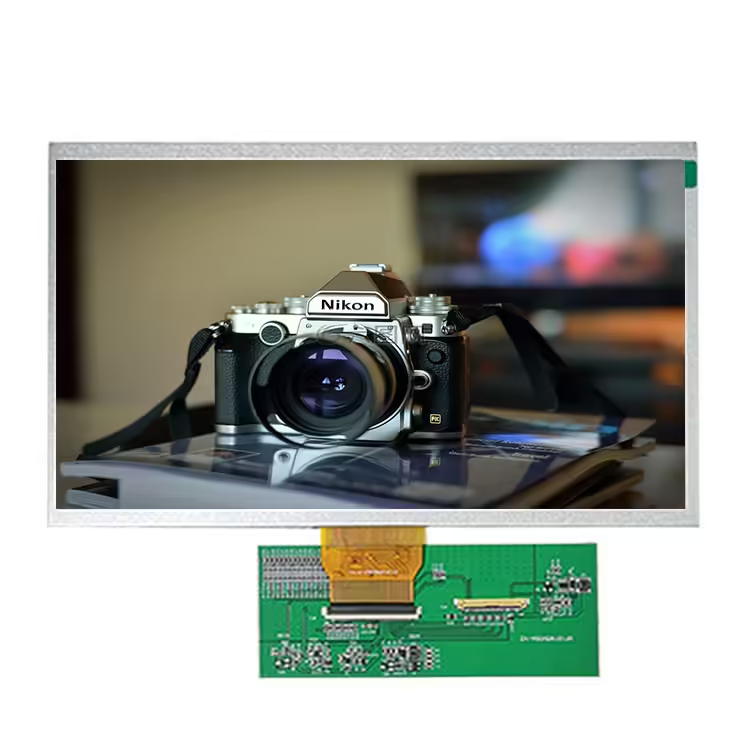
In the realm of embedded systems and DIY electronics, interfacing a 2.4 inch TFT (Thin Film Transistor) touch LCD screen module with an Arduino Mega has become a popular choice for hobbyists and professionals alike. This combination allows users to create interactive and visually appealing projects that cater to various applications, from home automation to prototyping. Today, we will delve into the world of the CHANCEDISPLAY brand, which stands out as a reliable and efficient option for integrating this module with your Arduino Mega board.
Firstly, let’s understand what a 2.4-inch TFT touch LCD screen is. These screens are composed of a color display and a touch panel, combining both functions into a single unit. The 2.4-inch size is ideal for portable devices, providing ample screen real estate while maintaining compactness. The TFT technology offers excellent contrast, vibrant colors, and fast response times, making it suitable for displaying graphics and text with ease.
When it comes to pairing the CHANCEDISPLAY 2.4-inch TFT touch LCD screen with an Arduino Mega, you’re tapping into a versatile platform that simplifies the process of creating dynamic user interfaces. The Arduino Mega, known for its 128 pins and robust processing capabilities, can handle the demands of driving a high-resolution display and managing touch inputs.
To begin your project, ensure you have the necessary components ready. You’ll need the Chancedisplay 2.4-inch TFT touch LCD screen module, an Arduino Mega board, a micro-USB cable for power and programming, a breadboard or PCB for assembly, and some jumper wires for connecting the pins.
The Chancedisplay module typically includes the following pins:
1. **VCC** and **GND**: Power supply pins, connect these to your Arduino’s +5V and GND respectively.
2. **SCL** and **SDA**: I2C communication lines for sending data between the Arduino and the LCD.
3. **RST**: Reset pin, a low-level signal is required to initialize the display.
4. **CS** (Chip Select): Connects the LCD to the Arduino to control the data transfer.
5. **TFT pins** for data and commands: These pins allow you to send pixel data and control signals to the display.
6. **Touch pins**: For detecting touch events, usually a set of four or five pins connected to an analog input on the Arduino.
To set up the connection, follow these steps:
1. Connect the VCC and GND pins to their respective power sources.
2. Use jumper wires to connect the SCL and SDA pins of the LCD to the SCL and SDA pins on your Arduino Mega. Ensure they are properly configured as I2C communication lines.
3. Connect the RST pin of the LCD to one of the digital pins on the Arduino (usually 4 or 5) and set it as an output. Set the pin value to LOW to initiate the display.
4. If your module has a CS pin, connect it to a digital pin on the Arduino and set it as an output. This pin is used to select the display during data transmission.
5. For the TFT pins, you’ll need to consult the Chancedisplay documentation or the LCD’s datasheet to determine the exact pinout and how to map them to the appropriate digital pins on the Arduino.
6. Finally, connect the touch pins to analog input pins on the Arduino, usually A0 to A5, depending on your module’s configuration.
Once the hardware is in place, it’s time to write the code. There are numerous libraries available for working with 2.4-inch TFT touch LCD screens, such as Adafruit_GFX, Adafruit_ILI9341, or Chancedisplay’s own library. Install the chosen library using the Arduino IDE, and then create a new sketch to initialize the display and handle touch input.
Here’s a basic example using the Chancedisplay library:

“`cpp
#include

Chancedisplay display(0x3E, 0x62); // Set the correct I2C address and pin for CS
void setup() {
Serial.begin(9600);
display.begin(); // Initialize the display
}
void loop() {
if (touch.isPressed()) {

int touchedPin = touch.getTouchedPin();
int x = touch.getX(touchedPin);
int y = touch.getY(touchedPin);
// Handle touch event based on x and y coordinates
display.fillRect(x, y, 10, 10, CHANRED); // Draw a red square at the touched position
}
display.display(); // Update the display
}
“`
This example demonstrates basic touch detection and drawing functionality. As you progress, you can explore more complex features like scrolling text, displaying images, or implementing custom graphics.
In conclusion, integrating the Chancedisplay 2.4-inch TFT touch LCD screen module with an Arduino Mega opens up a world of possibilities for your DIY projects. By understanding the hardware connections and leveraging the appropriate libraries, you can create intuitive interfaces and enhance the user experience in your electronic creations. So, whether you’re building a smart dashboard, a home automation system, or a prototype, the CHANCEDISPLAY module is an excellent choice to bring your ideas to life. Happy coding!